Discover the World of Clay Modelling for Your Child
Unni B |
Creativity |
2023-09-05 |
null mins read

Table of Contents
Understanding the Ways of Clay Modeling
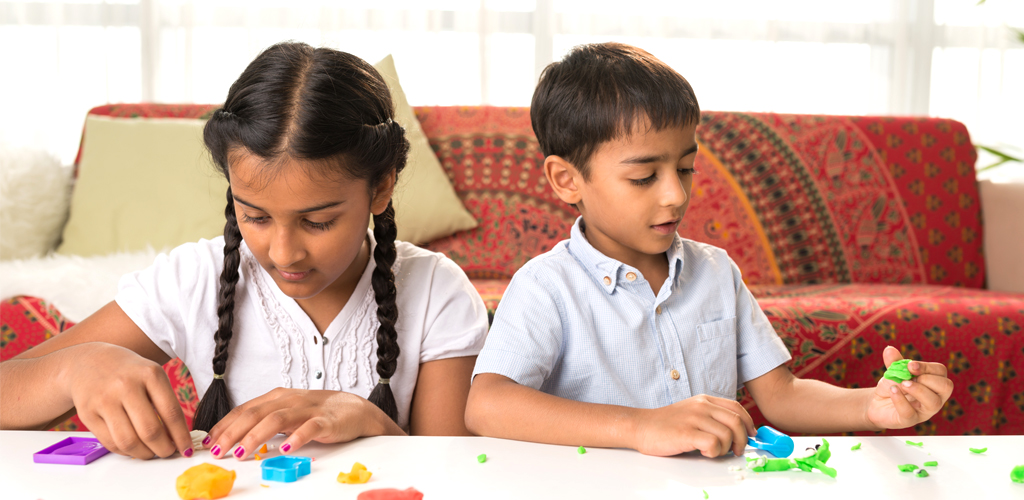
Clay Modeling is one of the most engaging toys among children’s playthings. The different colors and the doughy texture of these clay toys make it a really interesting playing option for kids. But more than just a toy, clay modeling for kids can help in a child’s development. So let’s look at the different features of clay. But, please also remember that playing with clay is best advisable for children over the age of
Clay Modelling for Kids

Whenever we give clay to a child, they will immediately make some shapes out of it. The instant shapes that come to their mind will be created using clay. It may be animals, plants, toys, or even his face. This itself shows the creativity offered by clay modeling within a small amount of time. Likewise, clay helps in various areas of development.
Improving Hand-Eye Coordination
In clay modelling ideas, a kid will first imagine a shape, and a neurological process will start at this very moment. The eyes will provide visual inputs to guide the hands in
performing a task. Hence, hand-with-eye coordination is very much required to carve out the shapes from clay. So while trying to form a shape, a child can easily learn how to use hand-eye coordination skills with various clay art ideas.
Increasing Motor Skills
Clay art for kids easily helps to develop their motor skills. They will learn methods to use their hands and fingers properly while doing clay art. The growth of muscles will happen very well with clay art. The proper development of the child’s motor skills is very important in their schooling days.
Understanding Correction and Learning
Clay Modeling art offers the best way for the child to correct and learn. When the child plays with clay for the first time, they won’t be able to make the desired shape. But they don’t have to be sad about that. We can break the shape and create a new form with the same clay. So, learning while correction can happen quickly with clay art and crafts.
Clay Activities for Kids

There are several clay activities for children. Clay gives them the freedom to shape things as they wish too. But for the child to know the idea, let’s give them some instructions and visuals.
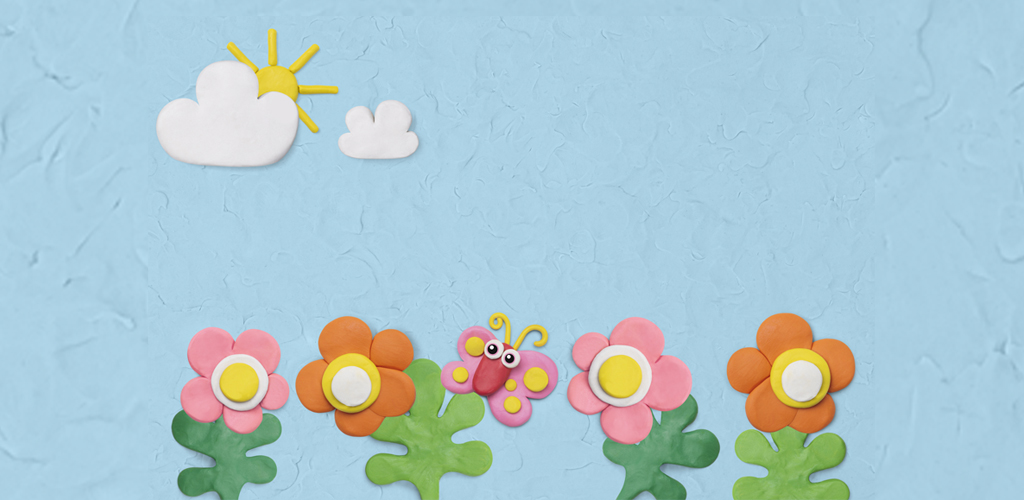
Sun and Sky
One of the easily captured visuals around a child is the Sun and Sky. So we can plan something easily connectable to the child.
Materials needed – Yellow, Blue, and White color clay.
Step 1: Ask the kid to take yellow clay and make a ball. Then tell him to flatten it into a circle. This will be serving as Sun.
Step 2: Ask the child to take another yellow clay and cut it into small lines of the same size. So, the sun is ready.
Step 3 : Now take a blue color clay. Tell him to take double the amount of yellow color clay. Tell
them to make a bigger ball, then flatten it to a square shape. Sky will be ready too.
Step 4: To make the sky impressive, ask them to take white color clay. Tell them to make small shapes and place them around the blue sky.
Step 5: Then tell them to place the Sun in the center, with the lines around it.
Earthworm
Worms are accessible for a child to make and understand. So let’s teach the child about creating an earthworm.
Materials required – Green, Yellow, Black, Red.
Step 1: Ask the child to make a worm of the color he likes. Here we can fix it as green color.
Tell your child to take green clay and make balls of different shapes.
Step 2: Ask your child to make six to seven balls. Ask them to arrange the balls from smaller to bigger. Stick each ball together. Tell your child that the biggest ball in front will be the head, and the smallest is the worm’s tail.
Step 3: Take some yellow clay and make it into two small balls. Then flatten it into two little circles and ask them to place it in the worm’s head.
Step 4: Then, take a tiny amount of black clay and ask them to make little balls. Place it on the yellow clay on the head. Tell your child that they have to draw the eyes of the worm.
Step 5: Ask them to take some orange clay and make four pieces from it. Tell them to arrange these pieces in the shape of the letter ‘ V’ (if they doubt the form, guide them through). Ask them to place a ‘V‘ upside down on the worm’s head to make the tentacles.
Flower
Flowers are one of the first things everyone tries while learning drawing. Let’s include flowers in our clay modelling section too.
Materials required: Yellow, white, Orange, Black, violet, Blue, Red, and Green clays.
Steps 1: Ask your child to make a small ball from yellow clay and flatten it into a circle.
Step 2: Ask them to take two smaller white clays and a tiny amount of black clays. Tell them to make small balls of white clay and tiny balls of black clay.
Step 3: Flatten the white clay and place the tiny black balls on it. Then tell them to put this over the yellow circle.
Step 4: Then, ask them to take equal parts of violet, blue and red clay. Ask them to make a shape like a letter U with each color ( if they doubt the figure, guide them through). Tell them to make two shapes with the same color.
Step 5: When a total of six shapes are completed, tell them to place these shapes around the yellow circle. Tell them to put colored shapes around the circle one after the other. ( Blue, Red, Violet)
Step 6: Take the green clay and ask them to make a line with it. Stick it to the bottom of the yellow circle.
Stay with Clay
Clay modelling for kids is something that helps our children learn and play. Please give them the freedom to make any shape and let them develop their creativity with happiness.
Also Read…
10 Learning activity ideas for 3-4-year-olds
Understanding the Role of Drama and Arts in Education
Other Related Sections
NCERT Solutions | Sample Papers | CBSE SYLLABUS| Calculators | Converters | Stories For Kids | Poems for Kids| Learning Concepts | Practice Worksheets | Formulas | Blogs | Parent Resource

